How to Go Live on YouTube
Connect your YouTube channel once, choose or schedule the exact broadcast, and let Streamable take it live.
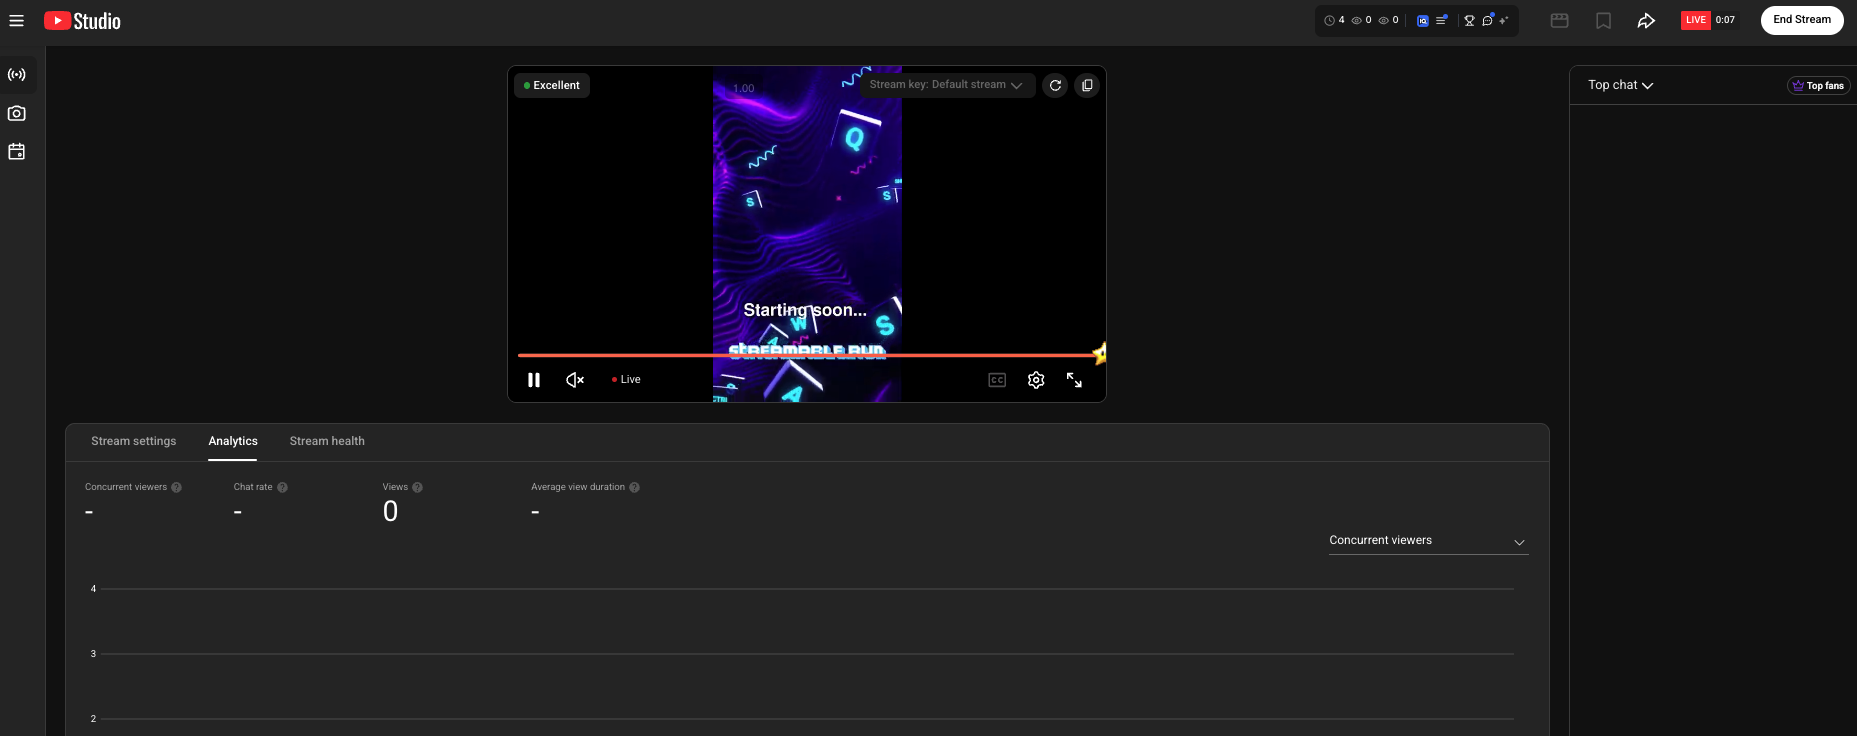
Step 1:Connect your YouTube channel
In Streamable, open Destinations, choose "Add Destination > YouTube," and select "Connect YouTube."
Choose the channel you want to use and approve access. Streamable creates a dedicated reusable ingestion stream for this destination; you do not need to copy or rotate its stream key.
Step 2:Choose what should happen on YouTube
From the Dashboard, start your YouTube destination and choose "Go live now," "Use scheduled stream," or "Schedule new."
Scheduled broadcasts are shown with their title, time, visibility, thumbnail, and binding status so you can select the exact event.
Step 3:Confirm the broadcast details
For a new broadcast, set the title, optional description and thumbnail, visibility, audience, and latency. Private or unlisted is a good choice for a first test.
Turn on private preview if you want Streamable to enter YouTube's testing state and wait for your final confirmation before the broadcast becomes public.
Step 4:Let Streamable verify YouTube
Streamable binds the exact ingestion stream, starts OBS, waits until YouTube reports that video is active, checks stream health, and only then takes the selected broadcast live.
If the attempt fails, retrying resumes the same prepared event instead of creating a duplicate broadcast or notification.
Step 5:End the same event cleanly
When you end the YouTube destination, Streamable stops its output and completes that exact YouTube broadcast. You can then open the archive from the confirmation.